

Part One is on making your own Char Siew. I followed Wendy's 'No bake Char Siew' recipe using her latest method. Very easy. The char siew is good. I used only 450 gm pork belly with the exact portion of seasoning from Wendy’s recipe. You can make a bigger portion to serve with rice and also for making paus.


Part Two is to prepare the Char Siew filling for making Char Siew Pau. I followed Agnes Chang’s recipe [slightly modified] with Char Siew made in Part One. The filling turns out good, very tasty yet not too sweet or salty. It is nice.


Part Three is to make the Char Siew Paus. I followed the recipe from Coco Kong’s book on Paus with slight modifications to the ingredients [reduced sugar and increased water quantity] and method.
Verdict – the pau skin is soft, moist and chewy, the char siew filling is moist, fragrant and tasty. What more do you expect from home-made paus? It is awesome minus the extra sweetness of store-bought paus. Do give this a try and discover the possibility of making good home-made paus. You may like it.
Part One – Char Siew Ingredients
450 gm pork belly strip – skin removed [about 2 cm thickness]
2 tbsp light soy sauce
1 tbsp dark soy sauce
1 tbsp Chinese Rose wine [Mei Kwee Lor]
½ tsp salt
Enough water to cover meat pieces
3 tbsp sugar [I used brown sugar]


- Place pork belly strips in a non-stick pan. Add in light soy sauce, dark soy sauce, salt, wine and enough water to cover the meat.
- Bring to boil then lower heat. Cover and simmer for about 20-30 minutes. Flip over the meat to cook the other side for another 20-30 minutes or until the pork fat part is softened.
- Turn to high heat, add sugar and let it braise until the gravy is reduced to almost thick. Keep stirring when gravy is bubbly to prevent burning. Off the heat.
- Let the meat to cool in the wok with the gravy before slicing.


350 gm home-made char siew [from Part One] – chopped
1 big onion or 3 shallots – peeled and chopped finely
100 ml water
1 tbsp cornflour, 1 tbsp tapioca flour and ½ tbsp plain flour [combined]
3 tbsp toasted sesame seeds
2-3 stalks spring onions – chopped
Seasoning
1 tbsp each of light soy sauce and oyster sauce
½ tbsp dark soy sauce
3 tbsp sugar [I used brown sugar]
- Add onions into char siew sauce from Part One. Stir fry until aromatic. Add in the char siew, seasoning and water. Bring to boil and simmer for 5 minutes.
- Sprinkle in the combined flour over char siew mixture, stir to mix until almost thick.
- Off heat, leave to cool before adding toasted sesame seeds and chopped spring onions.
- Chill in fridge until required.


Part Three – Making Char Siew Paus
Ingredients for Pau Skin
[total weight – 700 gm, makes 35 gm x 20 dough]
300 gm pau flour
100 gm wheat starch or tang mian flour
50 gm icing sugar
1 tsp double action baking powder
2 tsp instant yeast or 10 gm
200-210 ml water [original recipe uses 160ml - too dry]
200-210 ml water [original recipe uses 160ml - too dry]
30 gm shortening
20 paper liners


- Combine both flours, sugar, baking powder and yeast in the mixing bowl of an electric mixer fixed with a dough hook. Add water gradually as you knead the dough.
- Knead until a soft dough is formed. Add in the shortening and continue to knead till dough is soft, smooth and pliable. Shape into a round ball. Cover and proof for 20 minutes.
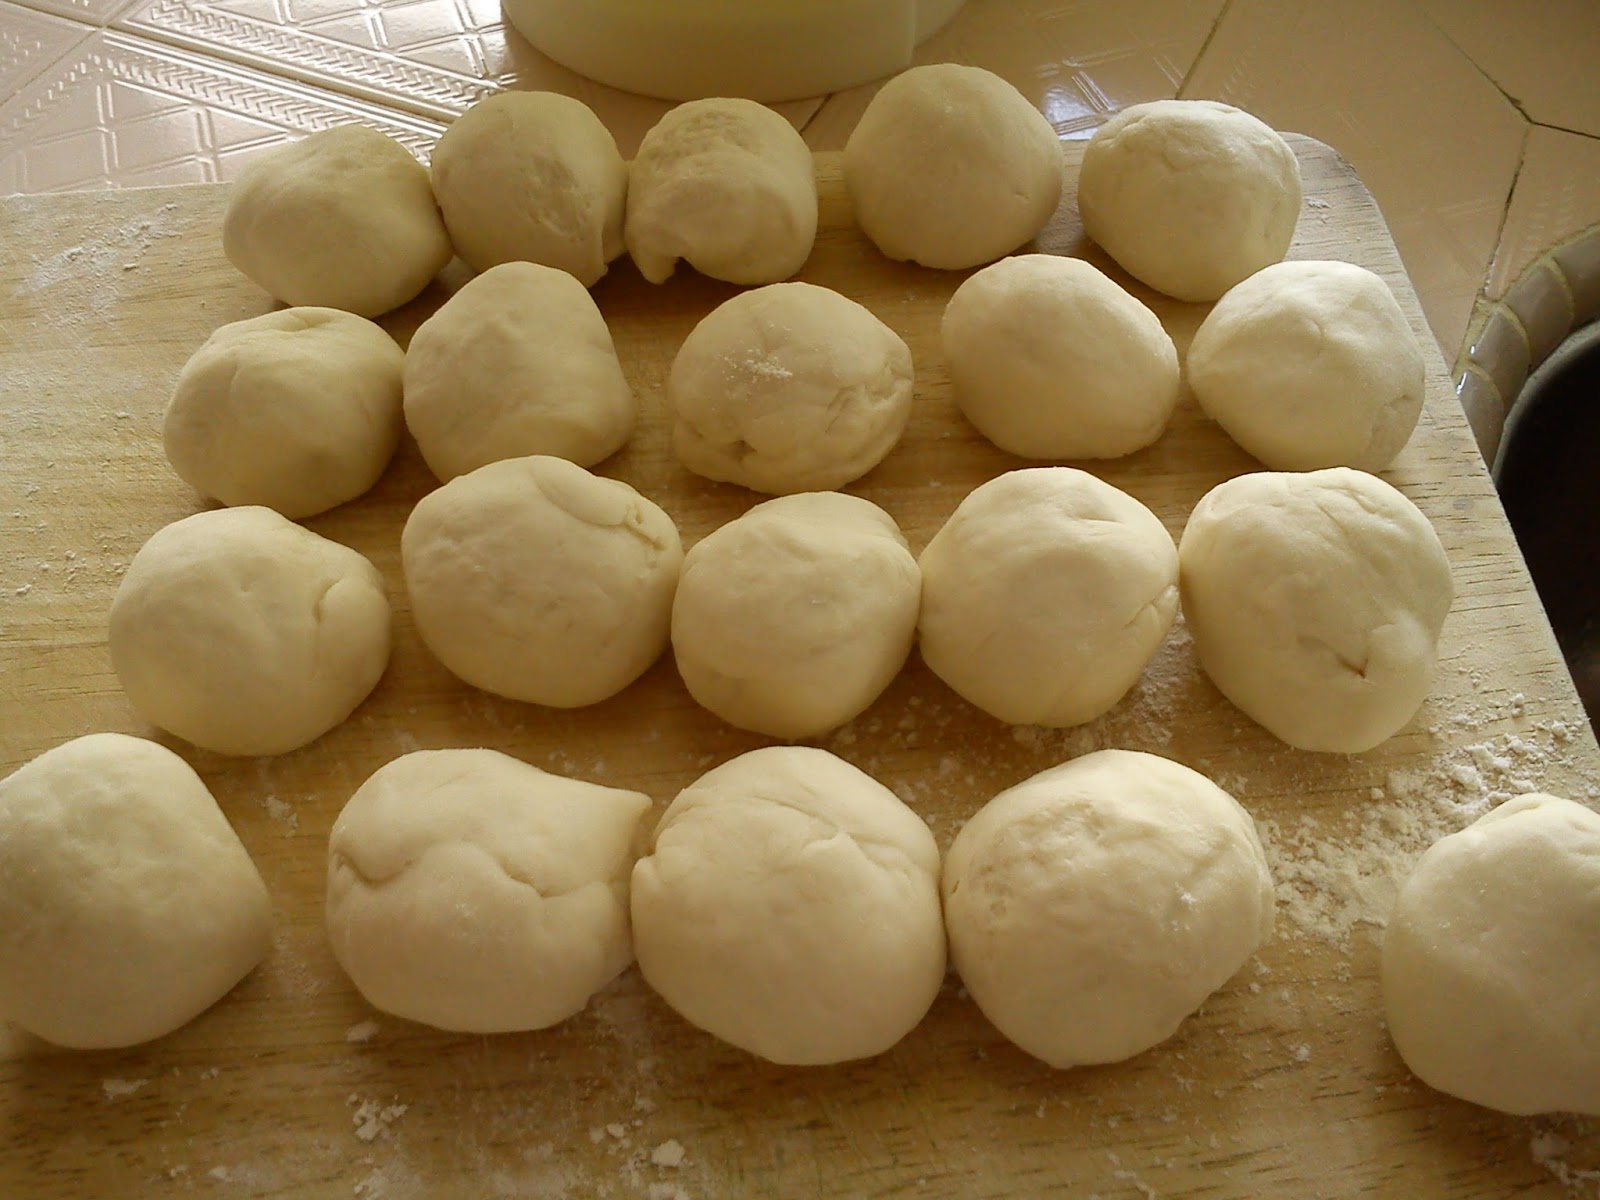
- Divide dough into 4 equal portions [175 gm each]. Roll into a log and divide into 5 equal portions [about 35 gm].
- Shape into balls, then flatten each ball with you palm.
- Press the edges of the dough to thin it before wrapping the filling. Gather the edges and pleat it into a pleated pau or shape into a round ball.
- Place on paper liner and arrange it in a steaming tray. Finish wrapping the rest of the dough and filling.
- Set aside to proof for about 40-45 minutes from the time you make the last pau.
- Prepare steamer and steam over rapidly boiling water for 10-12 minutes. If using a normal steamer, bring water to boil first before steaming.
- Remove, serve immediately or cool on wire rack.


This post is linked to the event, Little Thumbs Up August 2015 [Brown Sugar and Molasses] organised by Doreen from My Little Favourite DIY and Zoe, Bake for Happy Kids hosted by Jess of Bakericious

I'm submitting this post to Cook Your Books Event #26 [August 2015] hosted by Joyce of Kitchen Flavours
 This post is also linked to the Best Recipes for Everyone August 2015 Event (Theme: Dim Sum) organised by Fion (XuanHom's Mum Kitchen Diary) and hosted by May (厨苑食谱 @ mayck-law.blogspot.com
20 comments:
Hi Kimmy,
Seeing these delicious char siew paus, I can't help but to wipe my saliva. ... hee ... hee !
Kimmy, this is a good post! Very informative and detailed enough for me to follow. I have been wanting to try your pau recipes. I think I should be more confident now after baking buns. I suppose I could make the filling one day ahead and complete the pau the next day. I am so excited to try! Wish me luck :)
Hi Karen, these paus are indeed very nice [pau skin and filling]. My hubby is very particular with Char Siew Pau taste and texture. So far, no complaints about it, only the quantity this time is not enough for him to enjoy more.
Hi Phong Hong, thank you, I think so. Makes it easier for one to follow. You can make the char siew earlier, enjoy some of it but keep only the portion needed for the pau filling. Bet you will love the char siew. You can prepare the filling portion and freeze it until needed. Even the pau dough can be prepared ahead and chilled in the fridge. Everything about this is good. I like it very much.
Hi! Kimmy,
Your char siu pao is making me drooling, even when i am not a char siew pao fan!
Thank you for linking this post to The Best Recipe event!
Wow ur pau is so lovely
Hi Kimmy, i thought i have already left a comment during afternoon, seems like i have missed out yours!
I really drool when i look at your char siu pao, it looks so yummy!
Thank you for linking your post to BREE#12!
Hi Kimmy, I have tried your previous char Siew pau recipe. My finished product is way way not look like yours at all. It is flat and not so fluffy. How do u make yours so 3D as in stand up tall? Where went wrong as not fluffy although not totally dense.
If I used chicken, where should I adjust?
Your homemade char Siew & char Siew pau are making me very tempting to try again.
Hi May, yes there was an earlier comment. Paus with char siew is one of my hubby's favourite. He is very particular about the tastes, texture and even the size of the paus. The skin must be thin with lots of filling....very difficult. But this one is nice others which I made earlier are also very good, hehehe!
Hi LCLim, you can try to make some. Not that difficult if you can handle flour dough well.
Hi Lynn, the pau turned out flat, sometimes it could be there are air pockets when you wrap and seal up the fillings. It could be because the dough is not kneaded until pliable or over proofing. Not to worry, practice makes perfect. Sometimes, I failed too. If you are using chicken, the other ingredients remain the same but the cooking time may be shortened.
Hi Kimmy,
Wow! Your homemade pau looks very delicious! Your family is so lucky to have homemade yummies to enjoy! Thanks for linking with CYB!
Kimmy, I want some, this is my favorite!
Hi Joyce, this time I fully agree with you, these char siew paus are awesome. Can'y believe it is so good and from my kitchen...thanks to the yummy char siew and good pau skin. This recipe is a keeper.
Hi Jess, paiseh....all snatched up....hehehe! Next batch, I'll share with you.
OMG,the filling....makes me drooling
Hi Fion, your comment is urging me to make another batch. Not only the paus but the char siew. This quantity isn't enough. Have to make more, hehehe!
Hi, Kimmy,
How much water did you use for this pao skin ?
Hi Low, thanks for highlighting. The recipe stated 160 ml water but I find it too dry and used about 200-210 ml. Do add the water gradually, sometimes it could be because of the flour.
thank you, kimmy
Post a Comment