For this pau recipe, the Taro Filling is easy to prepare, fragrant and tasty, but I am not too happy with the look of some of the triangular paus after steaming. I think, I took too long to wrap the paus thus over proofing some of the paus.
The pau skin recipe below is 50% more of the original recipe. I should have use the actual recipe and make only 16 small paus. Anyway, the pau skin is chewy with a QQ texture. Doesn't look pretty but overall they taste good for home consumption.
I have added some toasted sesame seeds to the filling.
Recipe adapted from the book ‘Paus By Coco Kong’ with modifications
Ingredients for Skin Dough
[makes 20 paus]
300 gm pau flour
45 gm wheat starch [tang mian flour]
150 gm steamed taro – mashed while still hot
50 gm icing sugar
1½ tsp double action baking powder
3 tsp instant yeast
120-160 ml water [depending on the steamed taro]
1½ tsp vinegar
30 gm shortening
Ingredients For Taro Filling
200 gm steamed Taro [yam]
mashed while still hot till smooth
65 gm castor sugar
½ tsp salt
40 ml corn oil
80 ml coconut milk
20 paper cases – flattened


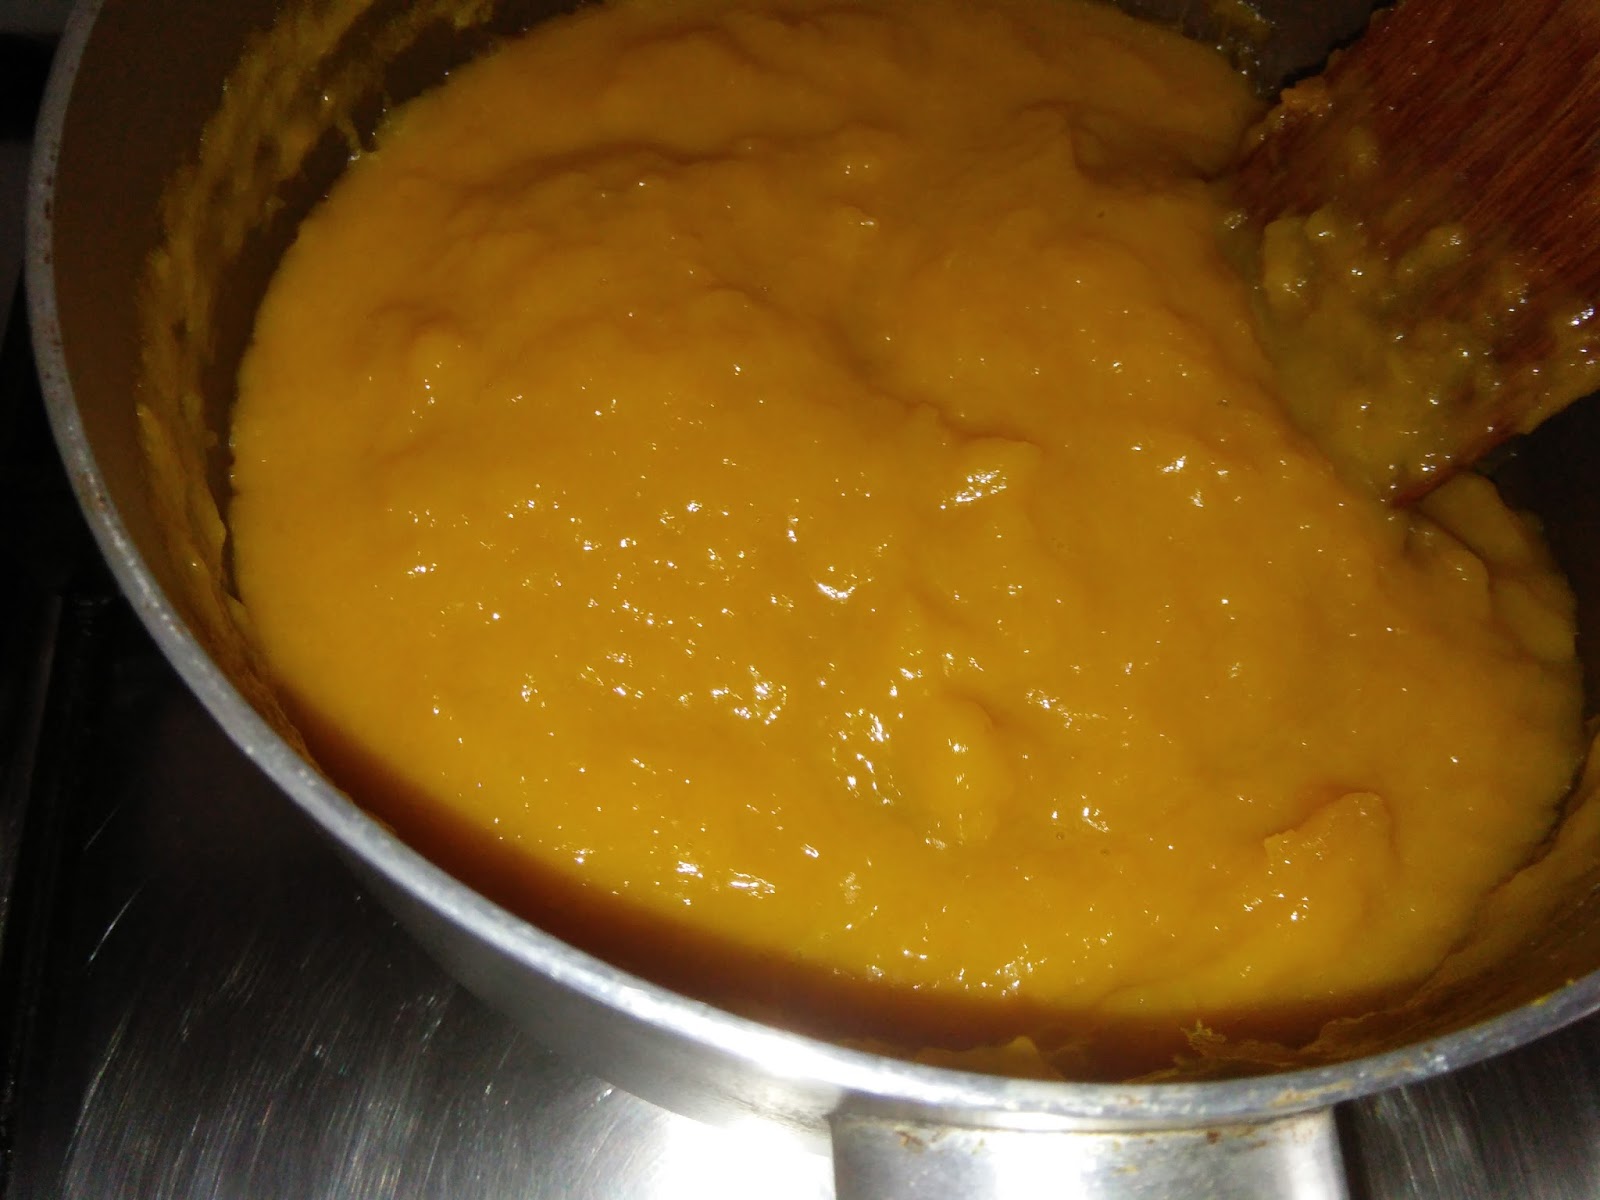
- For Filling – combine filling ingredients in a non stick pan. Stir fry until mixture has a thickened consistency [takes about 15-20
minutes]. Turn off the heat, stir until
smooth. Dish up to cool.
- For Skin – Combine
all the dry ingredients and steamed taro in a mixing bowl.
Gradually, add in the water and knead at low speed until well
combined.
- Add in the shortening and
knead at medium speed until dough is soft, smooth and shiny. Shape into a ball, cover with a damp cloth and
leave to proof for 20-30 minutes or double in size. Gather the dough before dividing it into 20
equal portions [35 gm].
- To Shape – Make [2] into a round and flatten it, ensuring
that the center is thicker than the sides.
Place a piece of filling [about 1 tbsp] in the centre, pull the centre up to seal
edges. Hand shape it into triangular pieces with the sealed edges facing up. Use a chopstick to dot the side surfaces with some colour dots. Repeat process.
- Place
on flattened paper case in a steaming tray. Proof for 20-30 minutes.
- Bring water to a rapid boil, place steaming tray over
boiling water, cover and steam for 10-12 minutes. Off heat and leave the paus in the steamer
for another 2-3 minutes before removing the lid and paus.